HOWTO: Present using Cooliris (advanced)
As promised in HOWTO: Present using Cooliris (the basics…) this post outlines more advanced options when using Cooliris as a presentation tool. It covers the following:
- Using a Nintendo Wiimote to control your presentation
- Customising the HTML page
- Adding titles to slides
- Linking to websites from slides
- Adding a ‘branding image’
1. Using a Nintendo Wiimote to control your presentation
 The Nintendo Wiimote is a wonderful thing. It (potentially) connects via Bluetooth to any suitably-equipped computer. I use a Macbook Pro and a program called Darwiin Remote (free) and it couldn’t be easier to both use the buttons on the Wiimote as well as the motion-sensing element to control the cursor. If, however, you’re using Windows you’ll need Wiin Remote (free) but good luck getting your ‘Bluetooth stack’ working (try BlueSoleil – or better still, buy a Mac!) Linux users need WiiLi.
If you have no joy with the above, simply invest in something like the Kensington Si600 Wireless Presenter which will do the job – albeit in a less cool way… 😉
2. Customising the HTML page
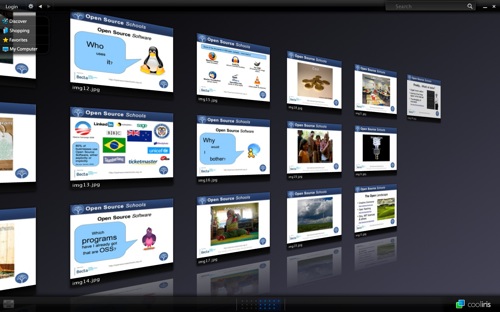
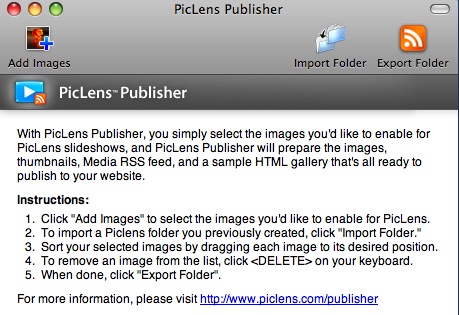
PicLens Publisher does all the hard work for you in terms of creating the HTML page, thumbnails and RSS feed you need to present using Cooliris. However, if you want to customise your presentation to look a bit more like mine, then you’ll need to edit the HTML page produced by the program.
In keeping with my love of all things free and Open Source, I’d recommend the cross-platform program KompoZer for this. It’s got a WYSIWYG editor and is very straightforward to use! If you look at my presentations, I add the following:
- my avatar
- title of my presentation
- details about me
- link to HTML version of presentation
- details about the presentation method (feel free to link to my posts!)
- Creative Commons license information (at bottom)
3. Adding titles to slides
This is the bit that involves delving into code. Don’t worry though, as it’s very straightforward. You need to find the file entitled photos.rss and open it with a text editor. You should see something like this:
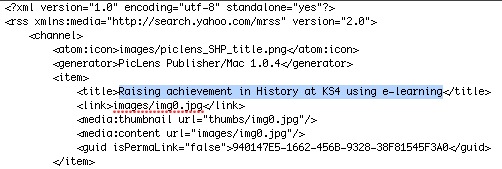
The part of the RSS feed that I’ve highlighted (between the <title> tags) is the title of each slide. This is what you need to change in order to alter the title of the slide. They’re in the order you specified when you made the presentation.
Result:

4. Linking to websites from slides
This is very much like the above process of adding titles to slides, except you edit a different part of the RSS feed:

The highlighted section above (between the <link> tags) is where you need to put the link to the webpage you wish to display when the relevant icon is clicked during your presentation:
![]()
5. Adding a ‘branding image’
This is perhaps the least useful of the advanced tweaks – yet in some ways the most satisfying as it gives you ‘ownership’ of your presentation.

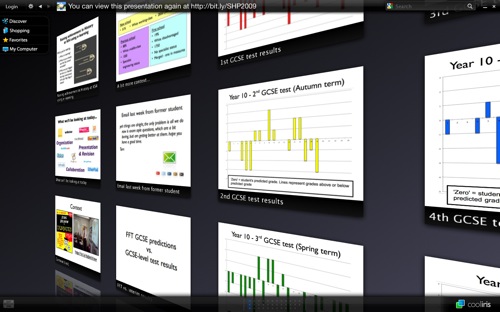
The branding image needs to have a transparent background (I used a PNG file but I suppose you could use a GIF) and no more than 26 pixels high. There’s no real limit to its width. You can add anything in there – as you can see I put the shortened link to the presentation for people to go back to. Need an image editor? Try the GIMP!
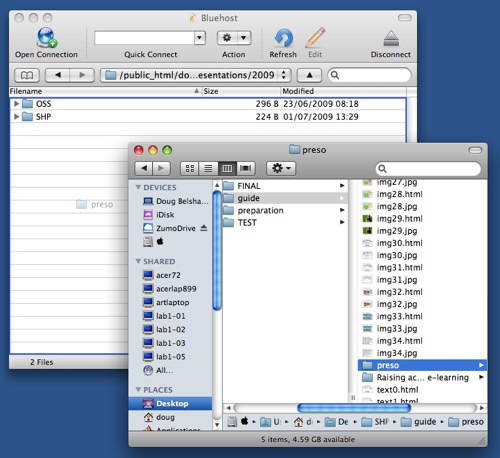
Put the image you have generated into the images sub-folder of your presentation folder. You then need to add the following to the bottom of the photos.rss file:

I’ve highlighted the section you need to add – although of course you’ll need to change name_of_your_file.png to whatever you decided to call your branding image! 🙂
Conclusion
I think Cooliris is a great presentation tool. It’s engaging, free to create and access, and enables people to re-use parts of your presentation (if you CC-license it!)
I’d like to thank Alan Levine for pioneering this method. The blog posts he wrote that guided me are below:

![Reblog this post [with Zemanta]](http://img.zemanta.com/reblog_e.png?x-id=e9d497c7-23a1-43c8-81ee-31ce63984403)




![Reblog this post [with Zemanta]](http://img.zemanta.com/reblog_e.png?x-id=8973090e-eff2-4a98-9054-c9dddce1f608)