HOWTO: Present using Cooliris (the basics…)
Regular readers of this blog and followers of my tweets will be aware that I’ve recently come across (via Alan Levine 1, 2) a great way to present to an audience using a plugin for the Open Source, cross-platform web browser Firefox.* Cooliris makes your presentations look like an interactive version of this:
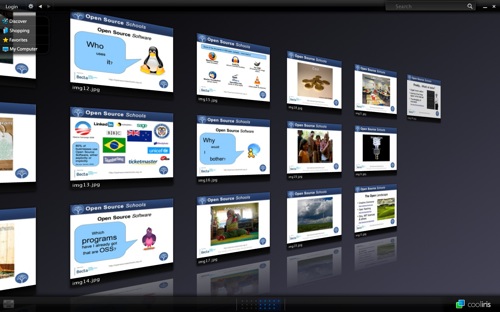
(examples available in the Presentations section)
Why use Cooliris as a presentation method?
- It looks extremely cool and engages your audience
- It generates HTML pages for your images so you can quickly and easily put your presentation slides online
- It’s free (if you use something like OpenOffice.org to create your images)
- It can be controlled using a Nintendo Wiimote (I use Darwiin Remote with my Macbook Pro)
The purpose of this post is to show how to create a basic presentation with Cooliris, and then how to enable the more advanced features. 😀
Cooliris: the basics
The basic steps are: export your slides as images, import them into PicLens Publisher, and then upload generated folder to web server (optional, as you can run it locally from your hard disk)
1. Export your slides as images
Keynote (click to enlarge):
Powerpoint (click to enlarge):
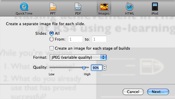
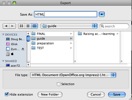
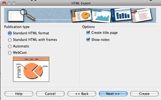
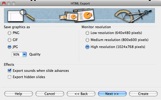
OpenOffice.org (click to enlarge):
As far as I’m aware, although the options would suggest otherwise, there’s no obvious way to export all you slides to images in OpenOffice.org. Instead, we can generate them by creating an HTML version of the presentation which will also create images. As a bonus, this can be uploaded alongside the Cooliris version of the slides for those without the plugin. 🙂
2. Use PicLens Publisher
Cooliris used to be known as ‘PicLens’ – hence the name of PicLens Publisher, a Mac/Windows program that does everything you need to convert your images ready for an interactive Cooliris-powered presentation!
Simply follow the instructions given to you in the program:

Once you’ve finished, go to the folder that you exported your files to and open gallery.html in Firefox (with the Cooliris add-on). You should see an interactive presentation like the ones I produced!
3. Upload your files to a web server (optional)
If you want your presentation to be online, do the following:
- Rename the folder containing your PicLens Publisher-created files to something without spaces (e.g. preso)
- Rename gallery.html within the preso folder to index.html
- Connect to your web server and navigate to where you want the preso folder uploaded to
- Upload the preso folder generated by PicLens Publisher to your web server
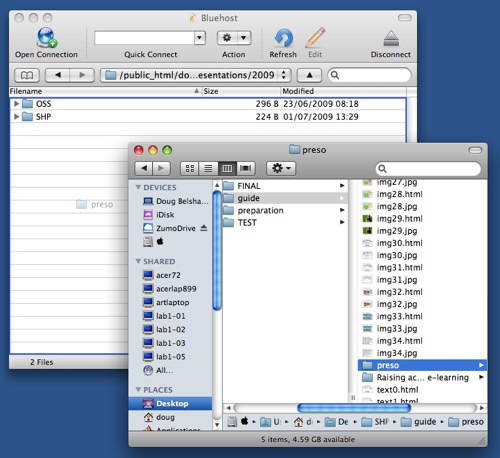
That’s it! You’ve created your first Cooliris-powered, interactive presentation. Details on how link to websites from your slides, name them, customize the icon at the top, and use a Wiimote to present will feature in a follow up post. 🙂
* Cooliris is also available for Internet Explorer and Safari, but I’m not entirely sure why you’d want to use those… 😉






Thanks for the thorough writeup, Doug!
Publisher is useful when you want to make the show available on a web sitei- if you want to just run it from your desktop, there is a “My Computer button inside CoolIris that allows you to load a directory of images as your show (or on a Mac directly from iPhoto).
Another easy way to assemble a preso is by making a flickr set and opening that in CoolIris- you can use the captions in flickr to add additional info available when you jump out of CoolIris.
Thanks for the initial idea and comment, Alan. Great stuff. You’re right about the Flickr option – probably the easiest way, actually.
Keep up the great innovative work. :-)
Thanks for posting these directions. I’ve been using Cool Iris in some workshops and now I can point attendees to your post as a resources.
Thanks for this great write up! What a great idea to capture the audience!
@Alan Thanks for the Flickr idea. Great to know!
Another great share Doug. Tried it today, the plug in is no longer available though, sadly. Do you have any tips on when you have exported slides as .jpgs to a folder to run the show locally (using the my computer option), to make sure cooliris displays them in the right order? I have tried re-naming the .jpgs to 1.jpg, 2.jpg etc but the cooliris wall still arranges them out of order.