Background
A couple of months ago, Dai Barnes and I decided to start podcasting again. We’d previously been regular hosts of EdTechRoundUp and wanted to get back into the routine. We decided to meet each weekend with a loose agenda, talk for between 45 minutes and an hour, edit the recording, and put it out each Tuesday. We’re calling this Today In Digital Education (TIDE).
Quick note: technology
A podcast is an audio file plus an RSS feed. Just sticking an MP3 on a web server doesn’t make it a podcast – there has to be an enclosure generated that allows users to have each episode delivered to them.
Recording the audio
Perhaps the easiest way to record a conversation is to use Skype and a plugin that records both sides of the audio. I’ve actually detailed this process before, and haven’t deviated much from it, so check out this post.
Quick note: naming
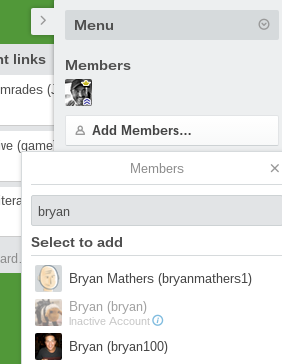
You should double-check that there’s no-one else using the name you came up with. We had to change the title of our podcast slightly as there was already a student-run podcast out of the University of Alabama! It’s also a good idea to grab as many URLs for the podcast as possible. This means you can switch platforms but keep the URL consistent.
Publishing your audio
In the first instance we decided to try Tumblr to make the podcast available to listeners. I wanted something that was super-straightforward, and Dai was keen to show to his colleagues that it isn’t just filled with dodgy stuff. As it happens, although this made it easy to listen to recordings via Tumblr itself, it wasn’t such a great idea for creating a compatible RSS feed.
Thankfully, the wonderful SoundCloud has a beta program called SoundCloud for Podcasters which we were quickly accepted into. This gives you an RSS feed people can use to subscribe to. It’s worth pointing out that people can also subscribe to you via the SoundCloud app itself.
We’ve retained the Tumblr blog as SoundCloud doesn’t seem to allow hyperlinks in the show description.
Quick note: costs
It’s pretty inevitable you’re going to spend some money creating your podcast. It can be done for free, but it’s more difficult than using awesome tools that make the job easier. Other than both owning Macs (which are great for multimedia!), here’s the things we’ve paid for:
Sorting out your RSS feed
It’s a good idea to take the RSS feed generated by whatever platform you use and pipe it through FeedBurner. There’s lots of options here, but ensure you pay attention to the Optimize tab and the BrowserFriendly, SmartCast, and SmartFeed settings. Note that you’ll need an image for your logo that’s larger than 1400px x 1400px to be compatible with iTunes.
Piping the RSS feed through FeedBurner means that if you change to a different platform (with a different RSS feed) this won’t affect your listeners. In the same way that you can have a URL that redirects to Tumblr, WordPress, or whatever, so your FeedBurner-powered feed is a front end for whatever RSS feed you point it towards.
Quick note: learning from others
One of the best ways to know what works with podcasts – in terms of content, structure, and how to describe yours, is to listen to some good ones. Here are three of my favourites (not including BBC Radio 4 radio shows released as podcasts):
Submitting your podcast to directories
If you’ve got an iPhone or iPod Touch then you’d be forgiven for thinking that everyone uses iTunes to subscribe to podcasts. But, of course, they don’t. Currently, the best places to submit your podcast are:
- iTunes (looks complex, but FeedBurner should have you covered)
- Stitcher SmartRadio
- Miro
- iPodder
- Blubrry
- DoubleTwist
- Libsyn
You only have to do this once for each service. There’s also a list here.
Conclusion
Setting up a podcast can seem quite technical but, follow the above advice and that which you search for, and you’ll be OK. Be comforted in the knowledge that once the flow is all set up correctly, all you’ll have to do is record your podcast, edit it, upload it, and write something about it each time. Everything else will happen automatically!
Have you got any remaining questions? I’ll try my best to answer them if doing so is of benefit to other readers, too! Ask away in the comments below. 🙂
Image CC BY-NC-SA Oliver Hartmann

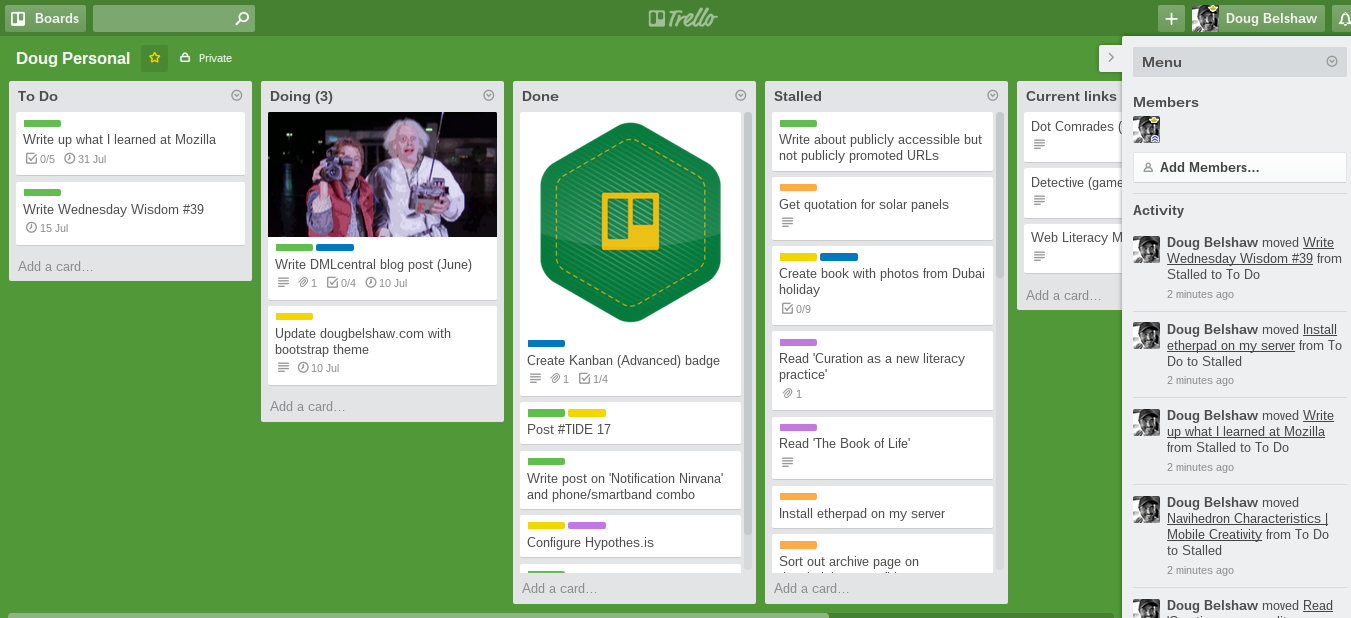
 The Kanban 101 badge proved so popular I’ve decided to follow it up with an Advanced Kanban badge! This posts explains how to earn it. I’m using Trello mainly because it’s awesome.